Argo CD
In this guide, we will show you how to set up Argo CD and Runme to work together. We will also walk you through creating your first Runbook and explain how to use these tools to make software deployments easier and error-free.
Prerequisites
To follow up on this tutorial, ensure you have the following:
- Basic Requirement
- Basic familiarity with YAML and Kubernetes resource definitions
- Runme Extension: Install the Runme extension in your VS Code editor and set it as your default Markdown viewer.
- Clone Our Repository
- Clone Repository: We have provided an example repository to help you follow this tutorial. You can clone the repository here.
git clone https://github.com/stateful/blog-examples/tree/main/cloud-native
- Installation
/bin/bash -c "$(curl -fsSL https://raw.githubusercontent.com/Homebrew/install/HEAD/install.sh)"
brew install git
brew install kind
brew install docker
kind create cluster --name my-cluster
kubectl cluster-info — context kind-my-cluster
The command above installs brew and git, creates a local Kubernetes Cluster using kind, and checks whether the cluster is running and healthy.
Set Up Git Repository Structure
The first step is to set up a structured Git repository for Argo CD. This will make it easier to manage everything since all the folders will be in one directory. Below is a visual representation of our repository folder tree.
Repository folder tree:
argocd/
├── app-projects/          # Stores Argo CD Application Projects YAML files
├── applications/          # Stores Argo CD Application YAML files
├── installation/          # Stores Argo CD installation files
│   ├── helm-chart/        # Contains Helm chart for Argo CD
│   └── values-override.yaml        # Custom values for Argo CD installation
Create App Configuration and Project Settings
Next, the values-override.yaml YAML file created above should contain configuration settings that specify server configuration, additional applications to deploy, additional projects within Argo CD, and their respective settings.
In your Runme cell, enter the command below and click run. This will update installation/values-override.yaml file with your specified configuration.
cat << EOF > installation/values-override.yaml
server:
  configEnabled: true
  config:
    repositories: |
      - type: git
        url: https://github.com/stateful/blog-examples.git
      - name: argo-helm
        type: helm
        url: https://argoproj.github.io/argo-helm
  additionalApplications:
    - name: argocd
      namespace: argocd
      destination:
        namespace: argocd
        server: https://kubernetes.default.svc
      project: argocd
      source:
        helm:
          version: v3
          valueFiles:
          - values.yaml
          - ../values-override.yaml
        path: installation/argo-cd
        repoURL: https://github.com/stateful/blog-examples.git
        targetRevision: HEAD
      syncPolicy:
        syncOptions:
        - CreateNamespace=true
    - name: argocd-apps
      namespace: argocd
      destination:
        namespace: argocd
        server: https://kubernetes.default.svc
      project: argocd
      source:
        path: argocd-apps
        repoURL: https://github.com/stateful/blog-examples.git
        targetRevision: HEAD
        directory:
          recurse: true
          jsonnet: {}
      syncPolicy:
        automated:
          selfHeal: true
          prune: true
    - name: argocd-appprojects
      namespace: argocd
      destination:
        namespace: argocd
        server: https://kubernetes.default.svc
      project: argocd
      source:
        path: argocd-appprojects
        repoURL: https://github.com/stateful/blog-examples.git
        targetRevision: HEAD
        directory:
          recurse: true
          jsonnet: {}
      syncPolicy:
        automated:
          selfHeal: true
          prune: true
  additionalProjects:
  - name: argocd
    namespace: argocd
    additionalLabels: {}
    additionalAnnotations: {}
    description: Argocd Project
    sourceRepos:
    - '*'
    destinations:
    - namespace: argocd
      server: https://kubernetes.default.svc
    clusterResourceWhitelist:
    - group: '*'
      kind: '*'
    orphanedResources:
      warn: false
EOF
This configuration should be pushed to a Git repository.
Install Argo CD Using Helm
In the previous section, we set up configurations for Argo CD applications and projects and defined their behavior within a Kubernetes environment.
Now, we will install Argo CD using Helm. To do this, run the helm install command below to install Argo CD:
helm install argocd ./installation/argo-cd \
   --namespace=argocd \
   --create-namespace \
   -f values.yaml
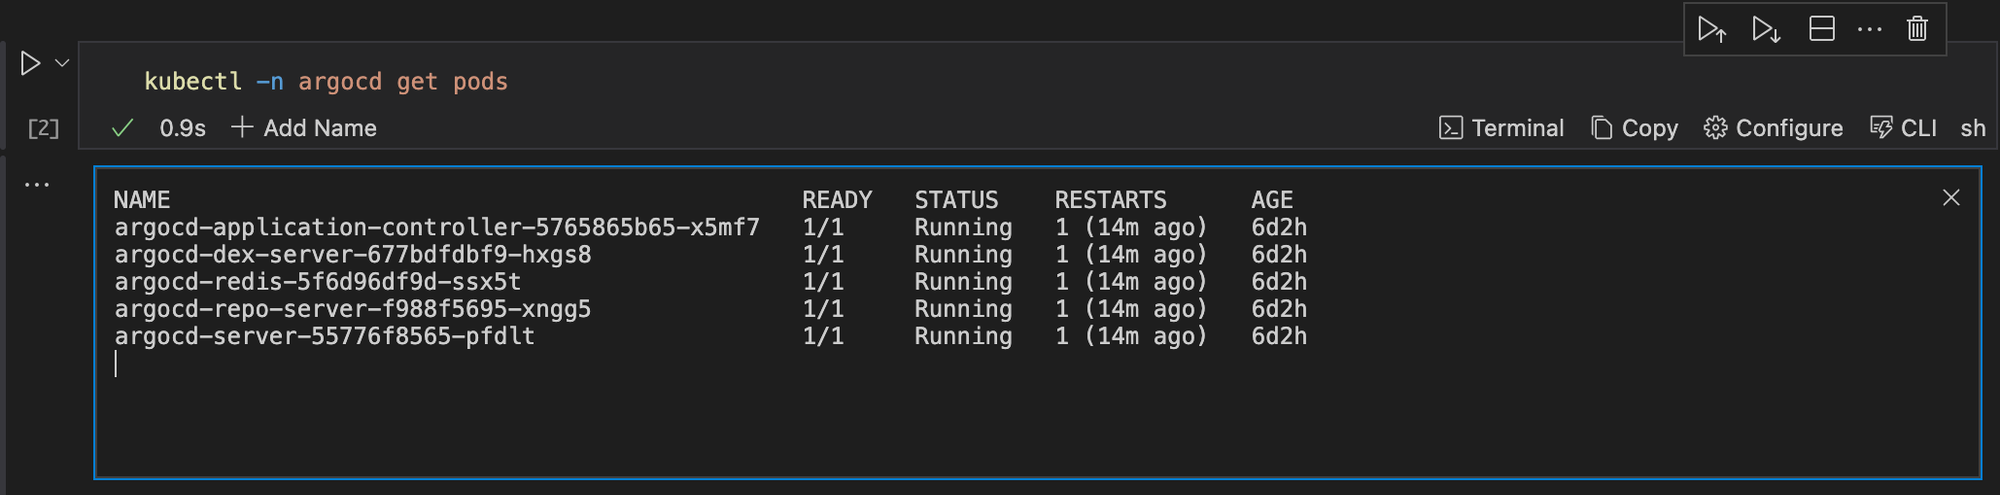
Wait until all pods are running.
kubectl -n argocd get pods
Next, get the initial admin password. To do this, execute the command below:
kubectl -n argocd get secrets argocd-initial-admin-secret \
    -o jsonpath='{.data.password}' | base64 -d

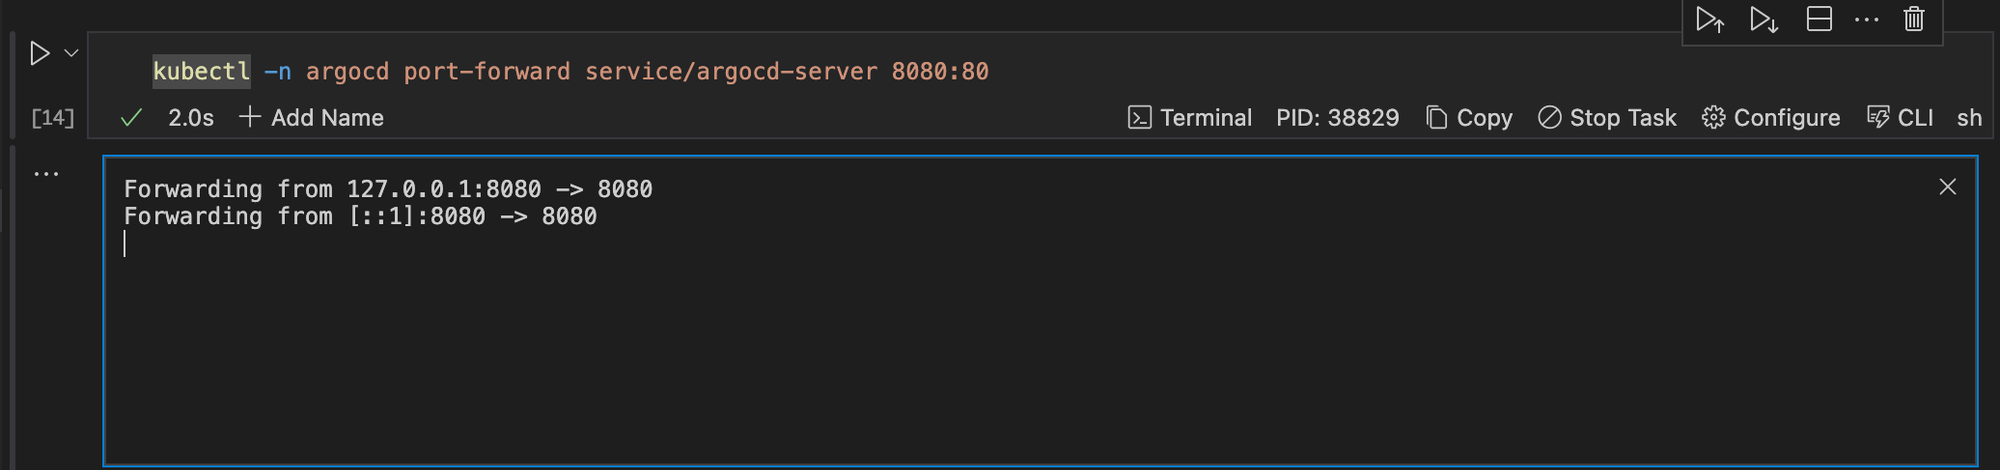
Forward the port 80 of the argocd-server service to localhost:8080 using kubectl.
kubectl -n argocd port-forward service/argocd-server 8080:80
With Runme’s background process feature, you can run your code cells as a background task. This will allow you to execute other tasks within the runbook without waiting for the initial task to complete.
After executing the port-forward command, you'll be able to access the Argo CD web interface locally by browsing http://localhost:8080.
open https://localhost:8080
Now, you need to log in using the initial admin password. After login, you will notice the three applications defined in the values-override.yaml file are ready for deployment.
Although the "argocd" application may initially appear out of sync due to differing templating parameters, you can resolve this by clicking the "Sync" button and waiting for it to turn green.
To Deploy an Application Project to Argo CD
In this section, we will use a demo project to explain how to deploy an application to Argo CD using Runme. To do this, follow the steps below:
Step One: The first step is to define the project configuration by specifying cluster resource access, destinations, and source repositories in a YAML file.
Step Two: Add, commit, and push the YAML file to your Git repository to trigger Argo CD's synchronization process.
cat << EOF >> argocd-apps/sample-app.yaml
apiVersion: argoproj.io/v1alpha1
kind: Application
metadata:
  name: sample-app
  namespace: argocd
spec:
  destination:
    namespace: sample-app
    server: https://kubernetes.default.svc
  project: sample-project
  source:
    path: sample-app/
    repoURL: https://github.com/stateful/blog-examples.git
    targetRevision: HEAD
  syncPolicy:
    syncOptions:
    - CreateNamespace=true
    automated:
      selfHeal: true
      prune: true
EOF
Step Three: After carrying out steps one and two, Argo CD continuously monitors the repository for changes and automatically reconciles the project configuration.
Step Four: If any change is detected, Argo CD applies the updated project configuration, allowing seamless application management within the specified project.
Cleanup
After successfully deploying your application to Argo CD, you can clean up. In cleaning up, you are to remove application and application project definition files in the git repository sample-app.yaml and sample-project.yaml . Here are some steps to achieve this:
Step One: Uninstall argo-cd helm deployment.
helm uninstall argocd
Step Two: Wait until all resources are deleted in argocd namespace and run the command below to verify.
kubectl -n argocd get pods
Step Three: Delete argocd namespaces.
kubectl delete ns argocd
Step Four: Delete kind cluster.
kind delete cluster --name my-cluster