Istio Service Mesh
Runme is designed to help you execute and document your daily automation tasks. With Runme, you can run your code and commands directly within the notebook, which makes it easy to manage and improve your workflow.
In this guide, we will focus on integrating Istio, a powerful service mesh, into your Markdown files using Runme. Istio helps you manage and secure your microservices.
By the end of this guide, you'll be able to use Runme to efficiently set up and manage Istio in your projects.
Prerequisite
To follow up on this tutorial, ensure you have the following:
- Runme Extension: Install the Runme extension in your VS Code editor and set it as your default Markdown viewer.
- Required Packages: Install the required packages (kind, kubectl, helm) in your Markdown file. Runme allows you to achieve this! Simply run the command below.
/bin/bash -c "$(curl -fsSL https://raw.githubusercontent.com/Homebrew/install/HEAD/install.sh)"
brew install git
brew install kind
brew install docker
brew install yq
The command above installs brew and git, and creates a local Kubernetes Cluster using kind
💡 For your kind cluster to run, you need to have docker running.
Install Istio CLI
Download the Istio release and install the Istio CLI.
curl -L https://istio.io/downloadIstio | sh -
Replace <version> with the version of Istio you downloaded
cd istio-<version>
export PATH=$PWD/bin:$PATH
Setting Up Your Cluster
To proceed with this tutorial, you are required to set up your Kubernetes cluster. This is an important step as it ensures that service mesh can manage your microservices application.
The first step in setting up your cluster is to check if any already exist and delete it. To do that, run the command below.
kind delete cluster --name runme-mesh
Next, use kind to create a Kubernetes cluster locally. For this tutorial, the name of the Kubernetes cluster will be runme-mesh. To create this, run the command below.
kind create cluster --name runme-mesh
After creating a cluster, the next step is to inspect the cluster to ensure it is running and healthy. To do this, run the command below.
kubectl cluster-info — context kind-runme-mesh
If you would like to inspect namespaces, execute the command below
kubectl get ns
To create a new namespace, execute the command below
kubectl create namespace mesh
Install Istio on Kubernetes
After successfully setting up your cluster, the next step is to install Istio on Kubernetes.
You can use the istioctl command to install Istio. There are different profiles available, but for this tutorial we are using demo .
istioctl install --set profile=demo

To verify the installation of Istio, run the command below:
istioctl verify-install
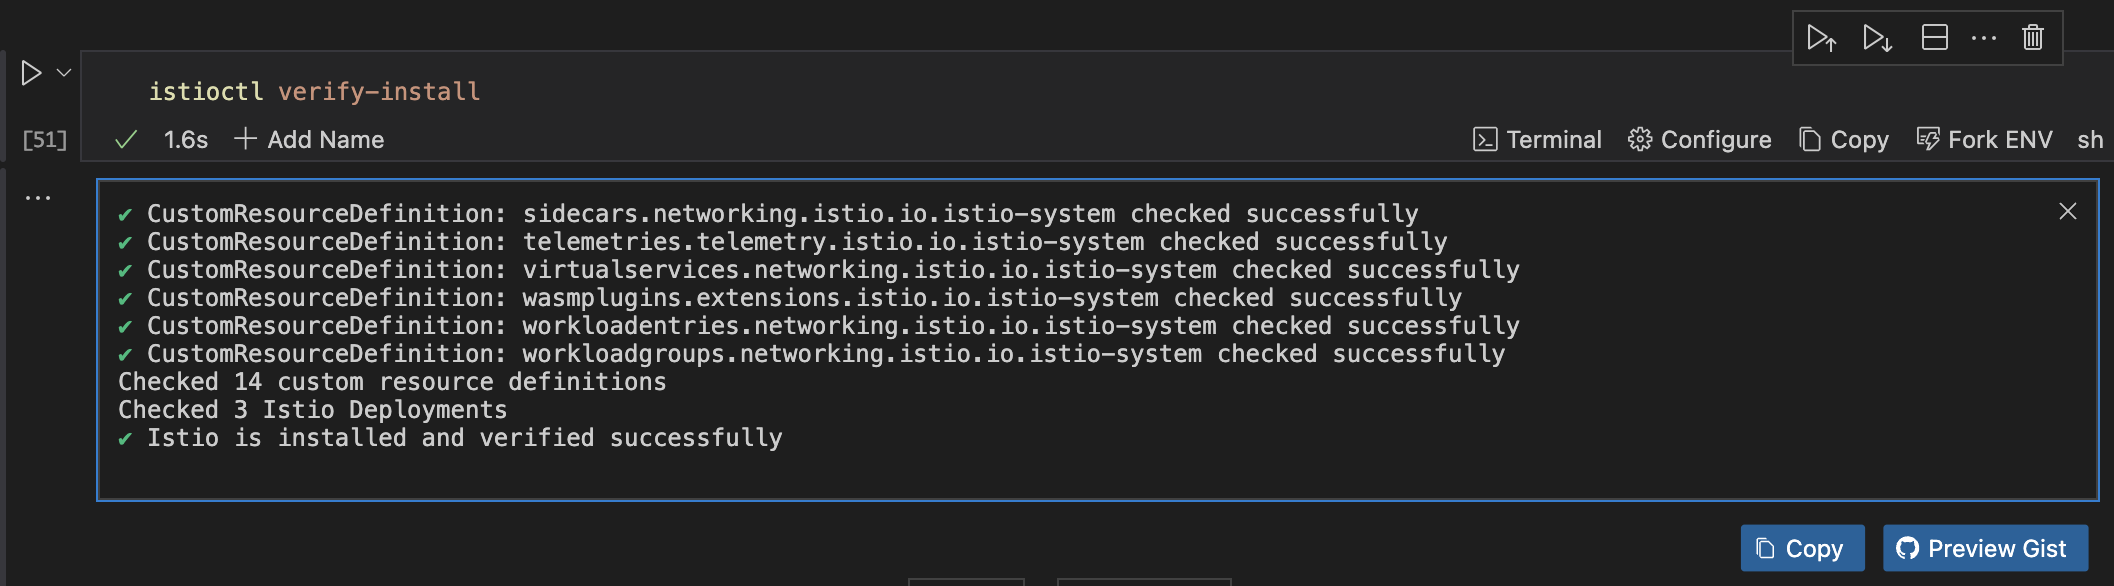
Verify Istio Components
Ensure all Istio components are running correctly.
kubectl get pods -n istio-system
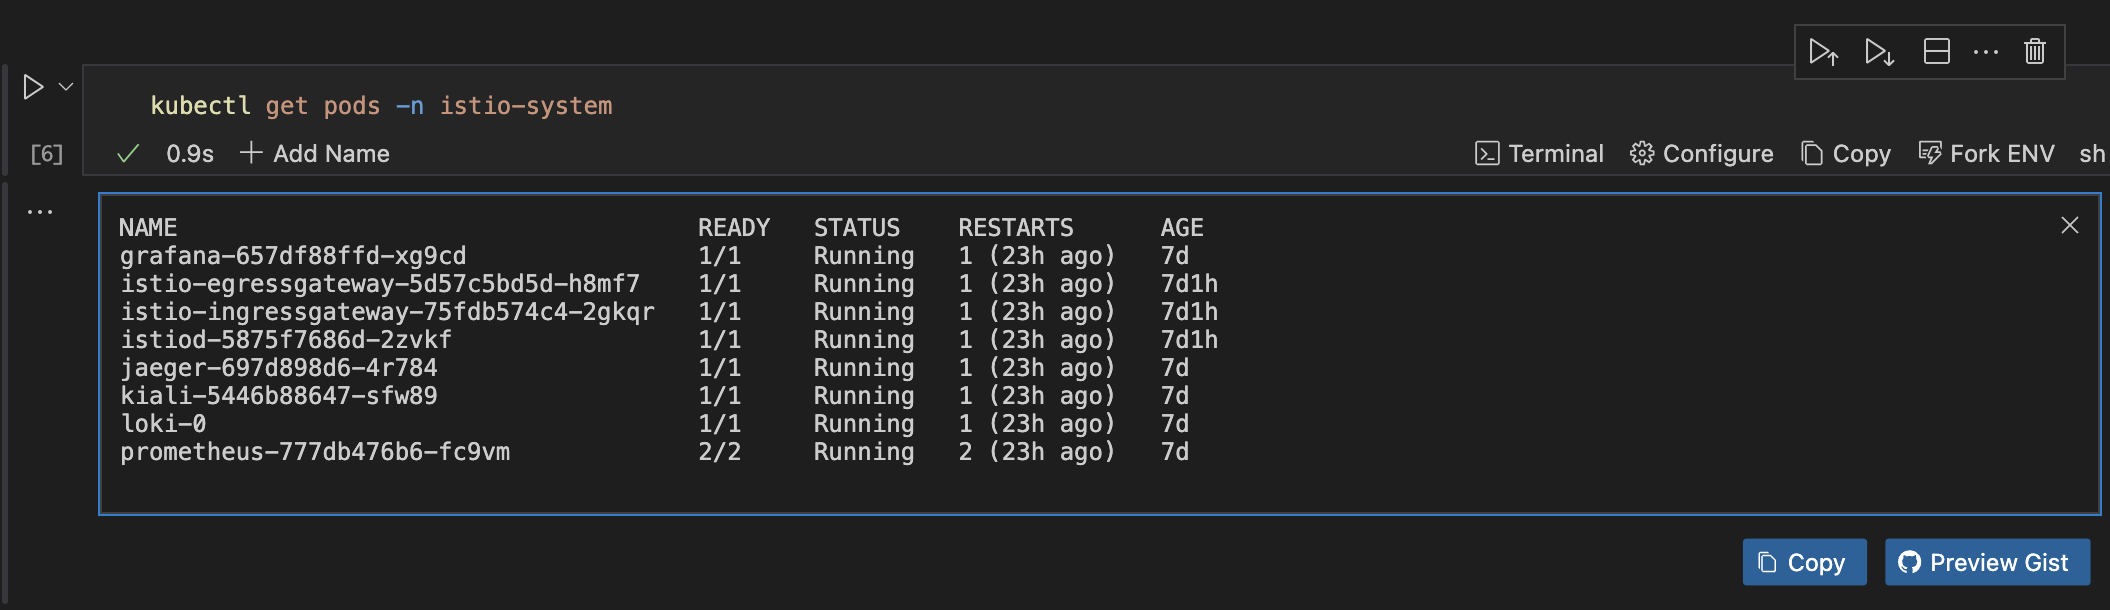
You should see pods for istiod, istio-ingressgateway, and other components.
Label the Namespace for Istio Injection
After complete verification of all Istio components, you need to label the namespaces where your application is deployed for automatic sidecar injection. Run the command below to achieve this.
kubectl label namespace <your-namespace> istio-injection=enabled
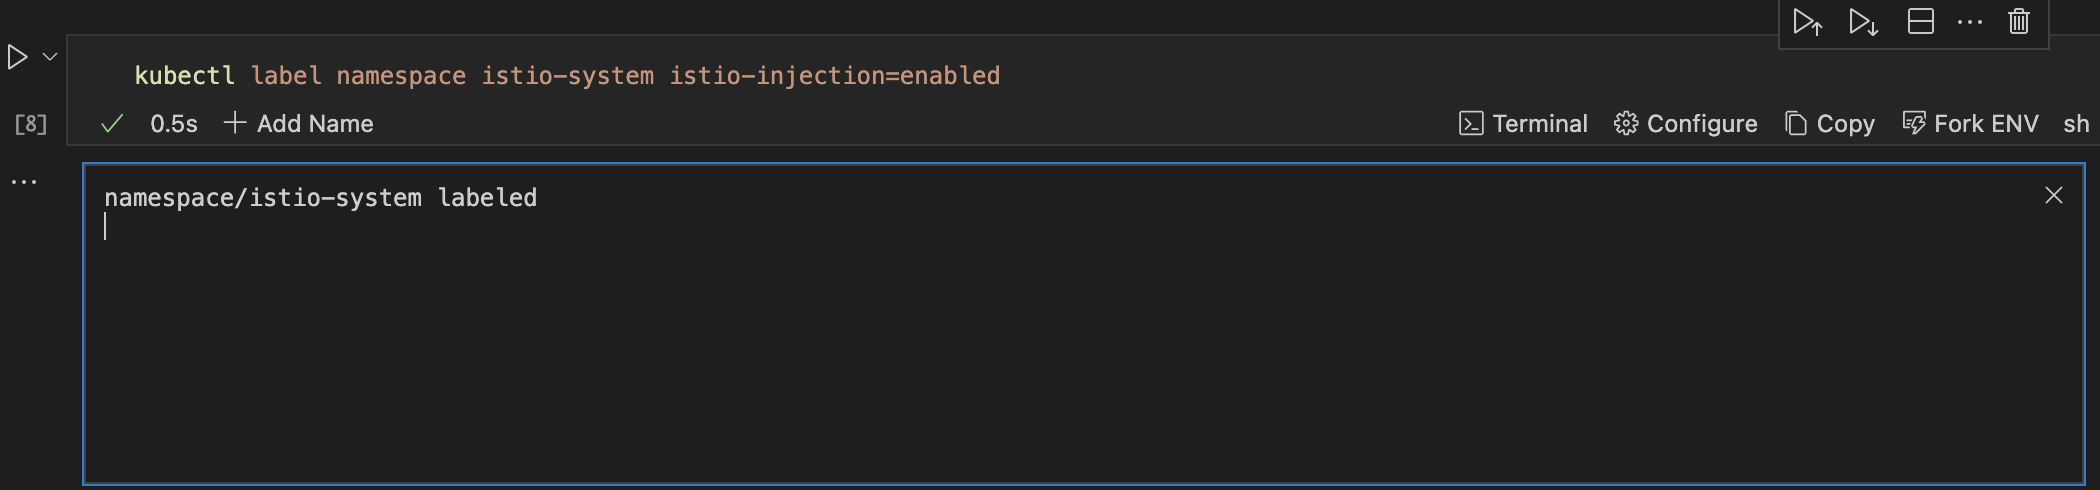
Be sure to replace your-namespace with the name of the namespace where Istio is running.
Deploy Sample Application
In this section, we will deploy a sample application to verify that the service mesh is working as it should.
To achieve this, run the command below.
kubectl apply -f samples/bookinfo/platform/kube/bookinfo.yaml
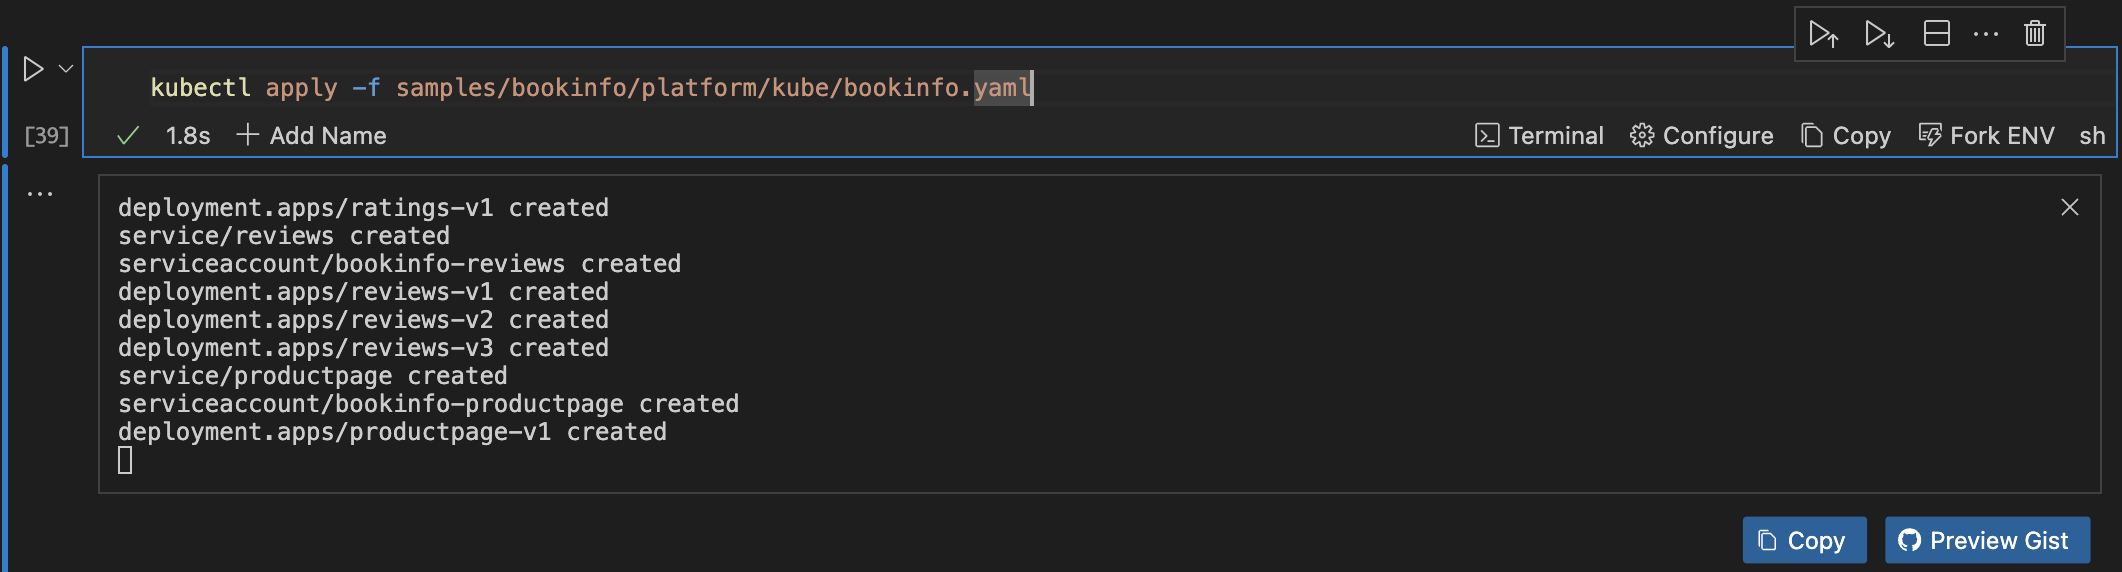
Using the Runme cwd feature, you can confidently set your code cell block to the path where samples/bookinfo/platform/kube/bookinfo.yaml is located on your local machine (the sample folder is inside of istio-<version> that you downloaded earlier).
Expose the Application
After deploying your sample application, the next step is to expose the application using the Istio ingress gateway. Run the command below to do this.
kubectl apply -f samples/bookinfo/networking/bookinfo-gateway.yaml
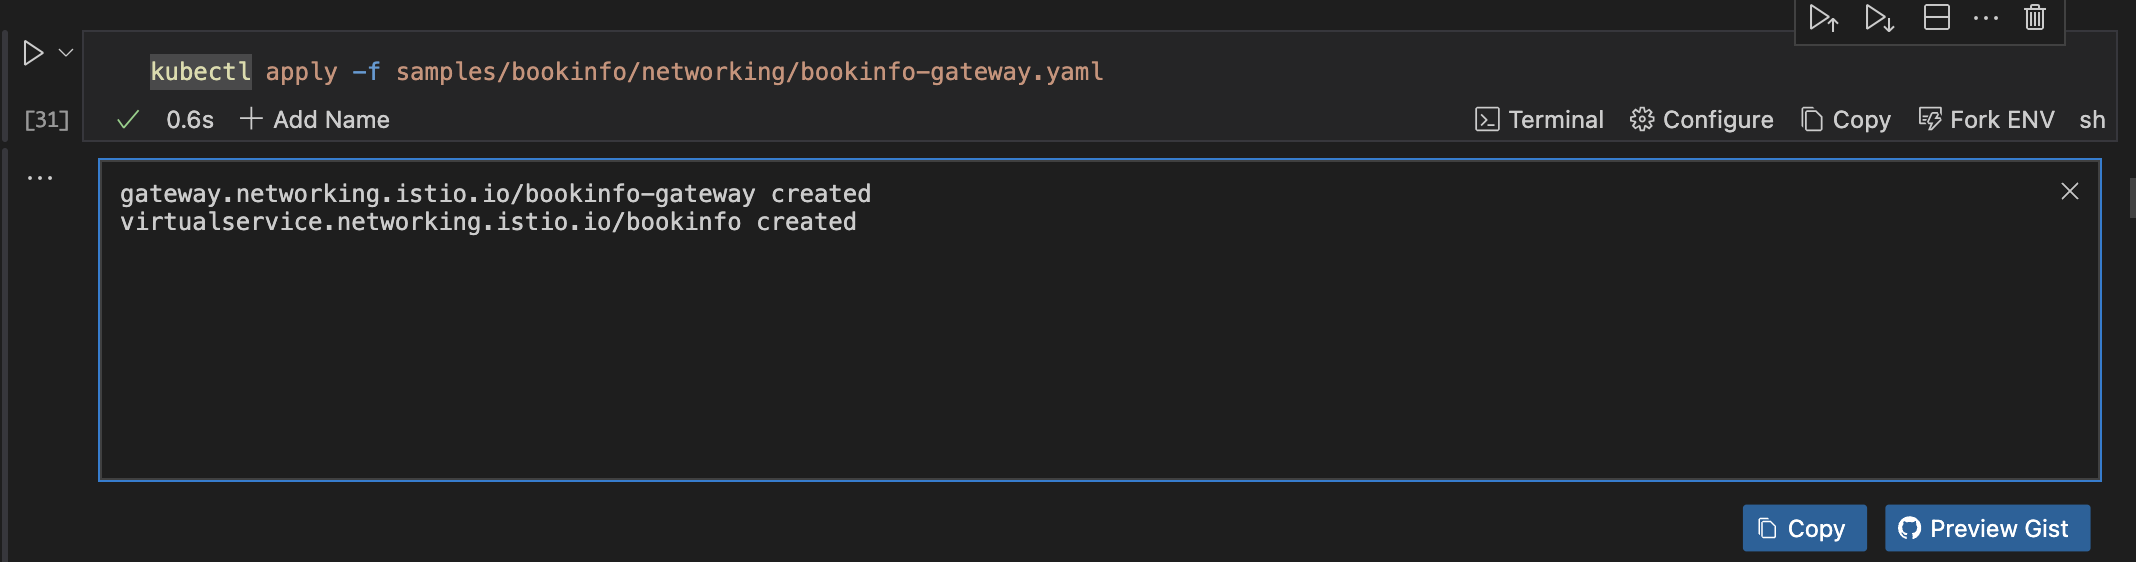
Runme cwd feature here to set your code cell block to the path where samples/bookinfo/platform/kube/bookinfo.yaml is located (the sample folder is inside of istio-<version> that you downloaded earlier).
Verify the Application
To verify the application and check the ingress IP and port, run the command below.
kubectl get svc istio-ingressgateway -n istio-system
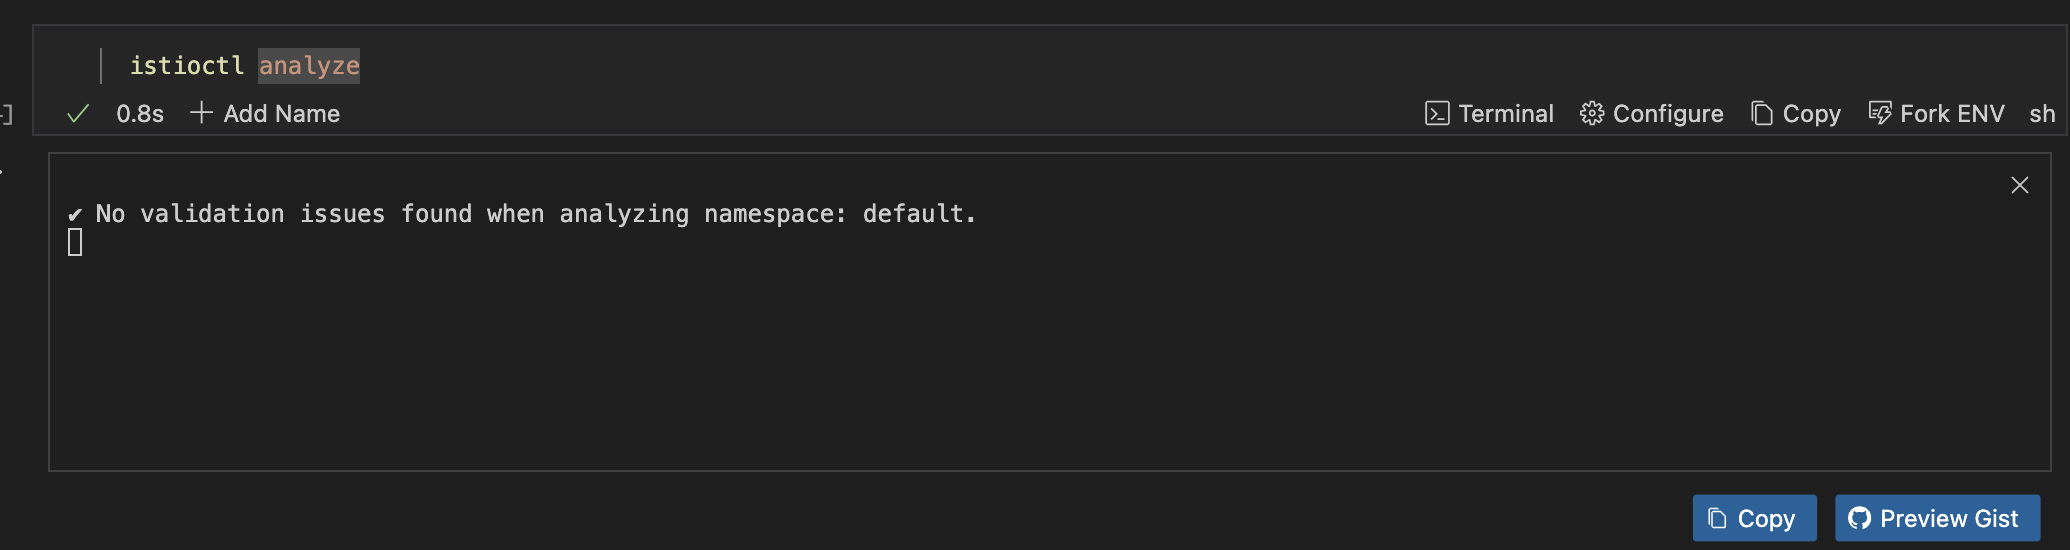
If you would want to analyze the entire cluster, run the command below.
istioctl analyze
Traffic Management
Now the next step is to properly handle traffic management. To do this, you need to create a VirtualService that will define the routing rules. The example in this tutorial routes all traffic to the reviews service to version v1
To begin traffic management, first create a file named runme-virtual-service-reviews-v1.yaml by running the script below.
cat << EOF > runme-virtual-service-reviews-v1.yaml
apiVersion: networking.istio.io/v1alpha3
kind: VirtualService
metadata:
  name: reviews
spec:
  hosts:
  - reviews
  http:
  - route:
    - destination:
        host: reviews
        subset: v1
EOF
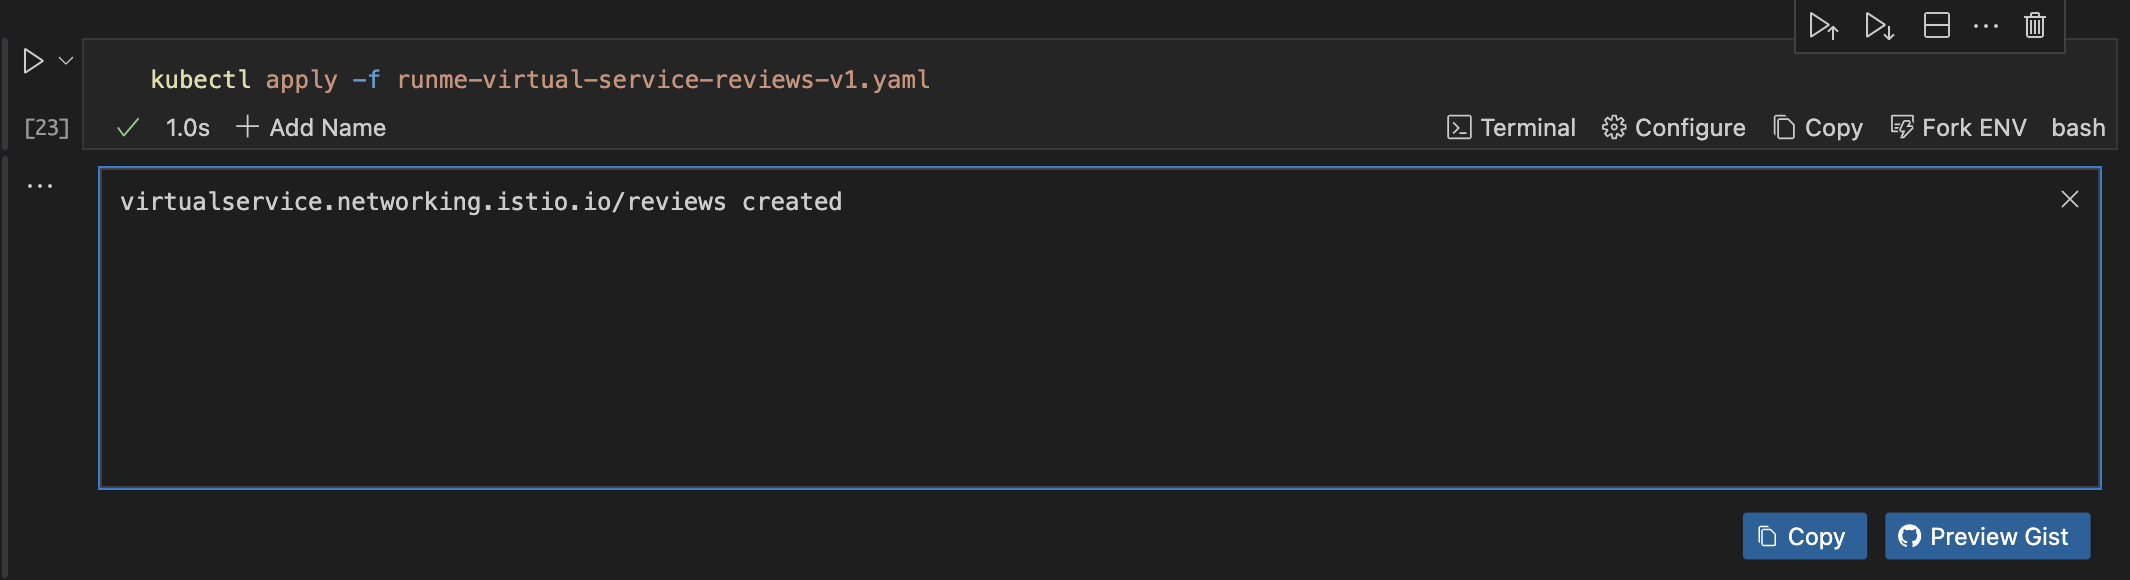
Next, run this command.
kubectl apply -f runme-virtual-service-reviews-v1.yaml
Set Up Destination Rules
After creating the file, you need to define the subsets for the reviews service. To do this, create a file named destination-rule-reviews.yaml that will contain the following configuration:
cat << EOF > destination-rule-reviews.yaml
apiVersion: networking.istio.io/v1alpha3
kind: DestinationRule
metadata:
  name: reviews
spec:
  host: reviews
  subsets:
  - name: v1
    labels:
      version: v1
  - name: v2
    labels:
      version: v2
  - name: v3
    labels:
      version: v3

EOF
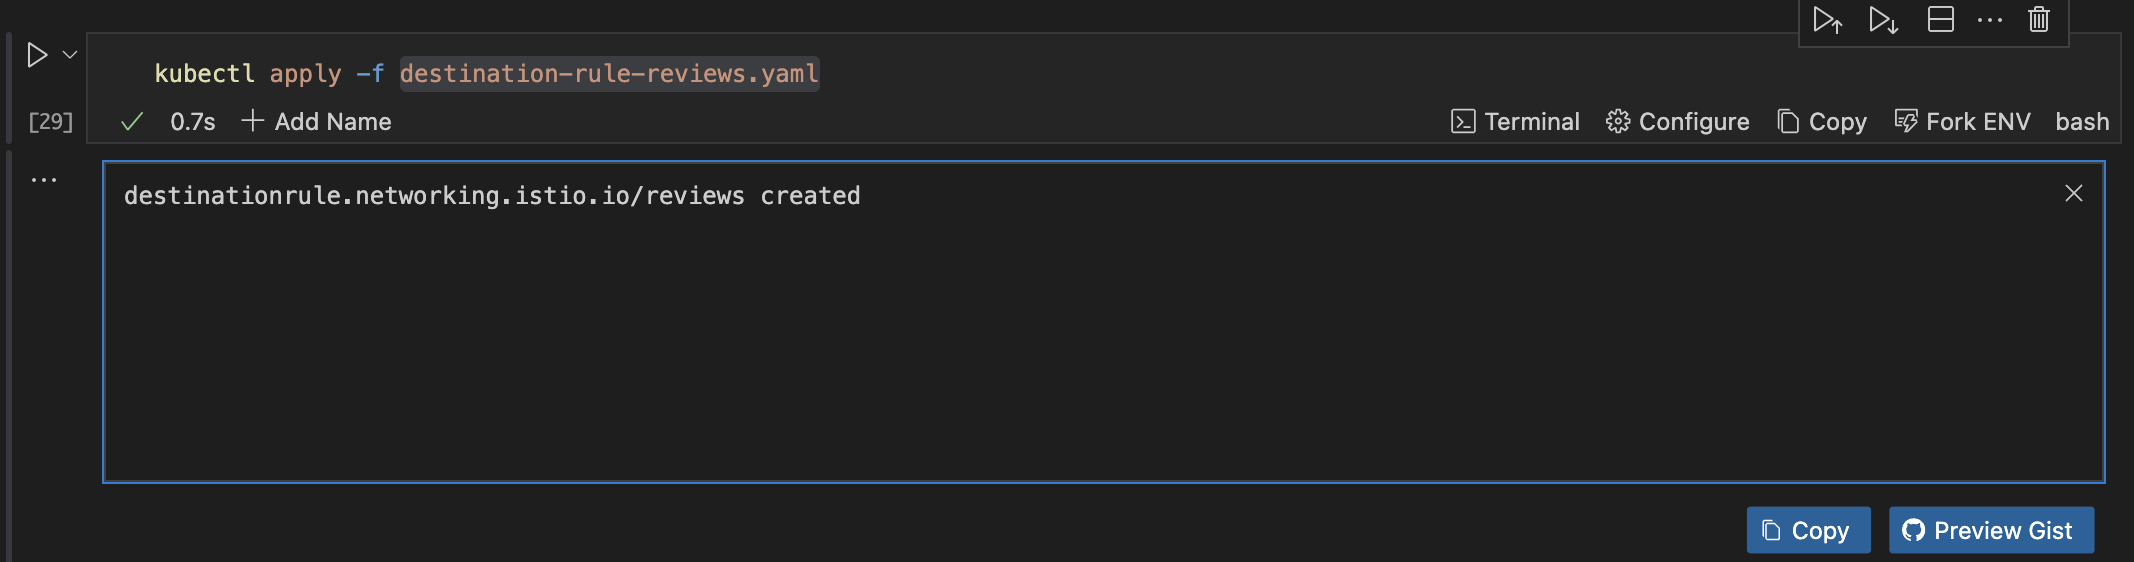
Now, apply the configuration by executing the command below:
kubectl apply -f destination-rule-reviews.yaml
Implementing Traffic Shifting
You can gradually shift traffic between different versions of a service. For example, shifting 50% of the traffic to version v2 and the other 50% to version v3.
To do this, create a file named runme-virtual-service-reviews-shifting.yaml and give it the following configurations:
cat << EOF > runme-virtual-service-reviews-shifting.yaml
apiVersion: networking.istio.io/v1alpha3
kind: VirtualService
metadata:
  name: reviews
spec:
  hosts:
  - reviews
  http:
  - route:
    - destination:
        host: reviews
        subset: v2
      weight: 50
    - destination:
        host: reviews
        subset: v3
      weight: 50

EOF
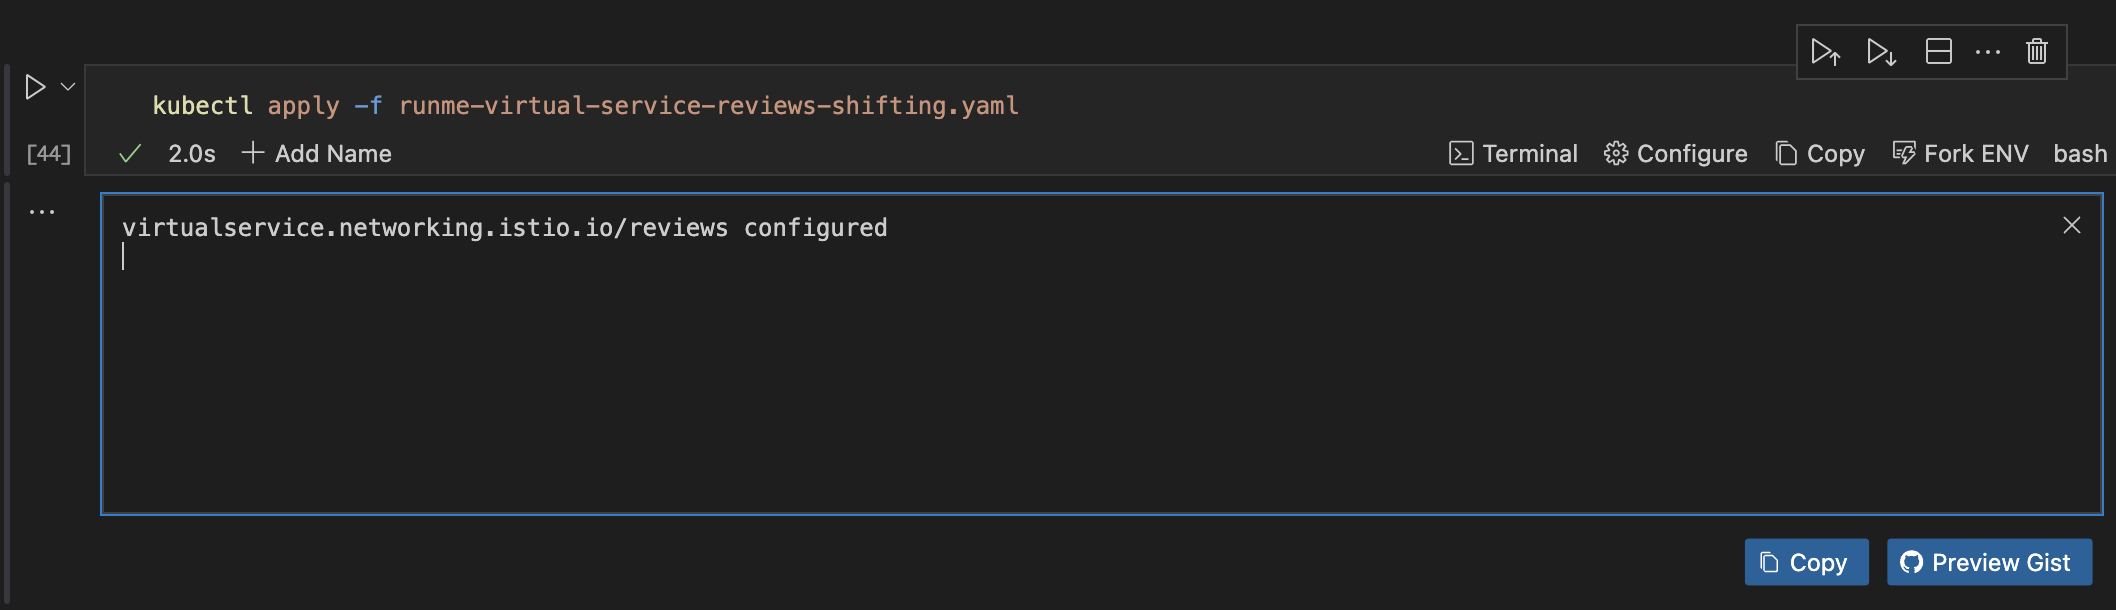
Now, apply the configuration by executing the command below:
kubectl apply -f runme-virtual-service-reviews-shifting.yaml
Testing the Configuration
Test the routing rules by accessing the application. To do this, you can utilize Runme’s environment variable prompt feature to use the external IP of the Istio Ingress Gateway:
export GATEWAY_URL=$(kubectl -n istio-system get service istio-ingressgateway -o jsonpath='{.status.loadBalancer.ingress[0].ip}')
curl http://$GATEWAY_URL/productpage
Security
To boost the application's security, we will enable strict mutual TLS mode in Istio. This mode secures service-to-service communication and provides authentication to protect sensitive data.
To do this, create a file named peer-authentication.yaml and give it the following configurations:
cat << EOF > peer-authentication.yaml
apiVersion: security.istio.io/v1beta1
kind: PeerAuthentication
metadata:
  name: default
  namespace: istio-system
spec:
  mtls:
    mode: STRICT
EOF
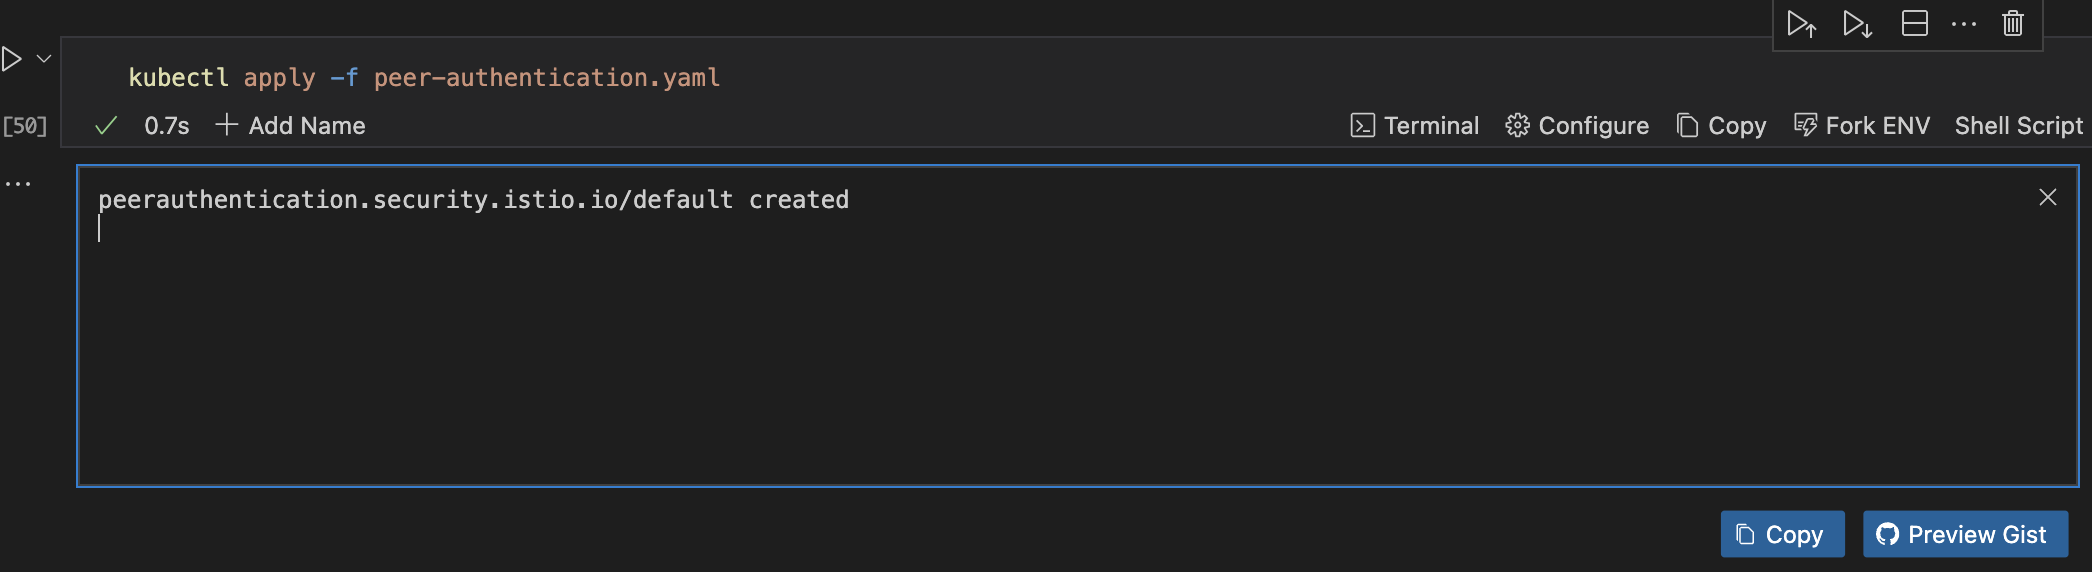
Apply the configuration:
kubectl apply -f peer-authentication.yaml
Observability
To get a visual view of your application's progress, consider integrating with Prometheus, Grafana, and Jaeger for metrics, dashboards, and tracing.
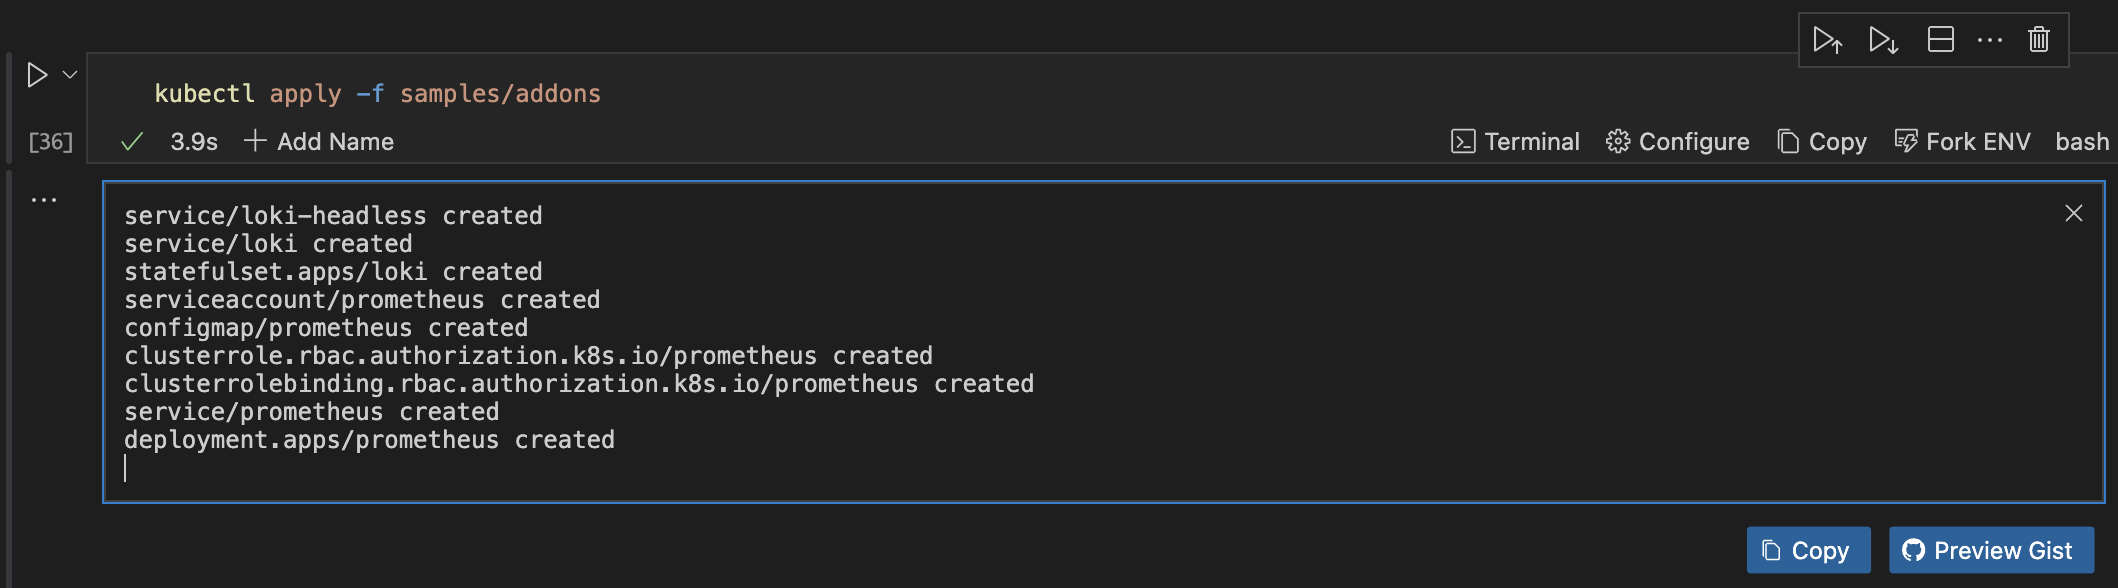
Run this command to do that.
kubectl apply -f samples/addons
Using the Runme cwd feature, you can confidently set your code cell block to the path where the samples folder is located on your local machine (the sample folder is inside of istio-<version> that you downloaded earlier).
Cleanup
After successfully deploying your application, you can clean up when you’re done. Here are some steps to achieve this:
Step One: If you used istioctl to install Istio, you can use it to uninstall
istioctl uninstall --purge -y
Step Two: If you installed Istio manually or prefer to do it manually
kubectl -n mesh get pods
Step Three: Delete istio-system namespaces.
kubectl delete namespace istio-system
Step Four: Delete kind cluster.
kind delete cluster --name my-cluster
Additional Resources
Some other guides you may want to explore: