Windows Prerequisites
To use Runme on a Windows machine, you have to use the Windows Subsystem for Linux 2 (WSL 2). Currently, Runme is built on Cloud-native Shell Kernel with a notebook, editor, terminal, and CLI interface. WSL 2 makes it possible for Windows users to access the full Runme feature-set by running a full Linux kernel inside a lightweight utility virtual machine (VM) on Windows 10 and Windows 11.
In this section, we will explore the various steps required to get Runme working on your Windows machine.
Requirements
To get started, you need to:
- Set up the Windows Subsystem for Linux and choose your preferred Linux distribution.
- Ensure you have Visual Studio Code installed on the Windows side rather than within WSL.
- Install the WSL extension in your VS Code editor.
Once all the requirements are fulfilled, start your WSL by following this article.
Install the Runme Extension
To get Runme installed in VS Code on your Windows machine, follow the steps below:
- Open up VS Code on your local machine.
- Navigate to the
Extensiontab, which can be located on the dashboard on your left.
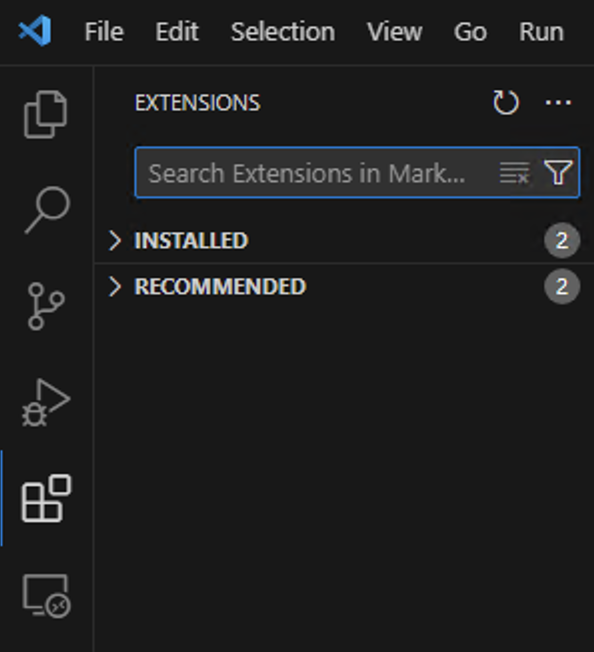
- In your search bar, type "Runme". This will display the Runme Notebook extension.
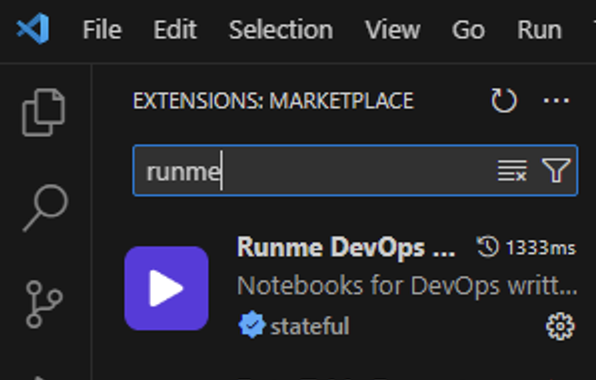
- Now click on Install to install the Notebook extension.
Setting up Runme on WSL
To set up Runme with WSL in VS Code, follow the steps below:
Connect to WSL
In your VS Code, press F1. This will open up a dashboard containing a list of configuration/setup options. Select Connect to WSL.
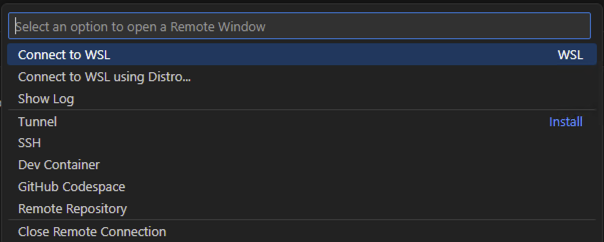
Alternatively, you can click on the button at the bottom left side of your VS Code dashboard, as shown in the image below, and you will be prompted with the same dashboard options.

Use Runme
After connecting to your server using WSL, the next step is to install the Runme extension on the remote server so you can use it as you like.
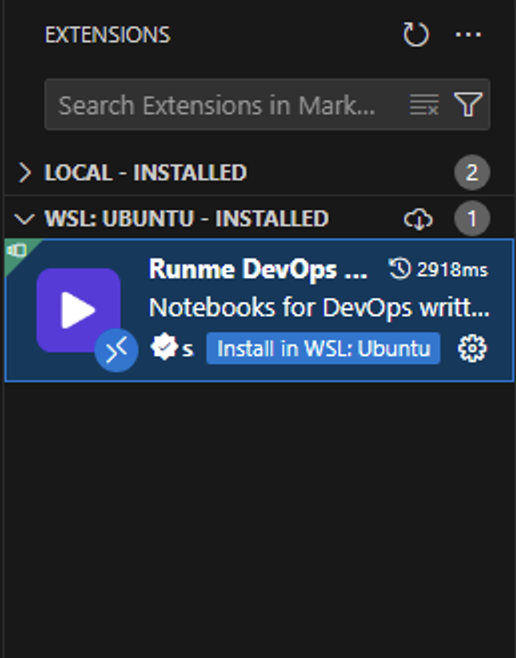
Choose a distro
Use the File menu to open your folder. If you already have a folder open, you can also use the WSL: Reopen Folder in WSL command. You will be prompted which “Distro" to use.
Verifying that it worked
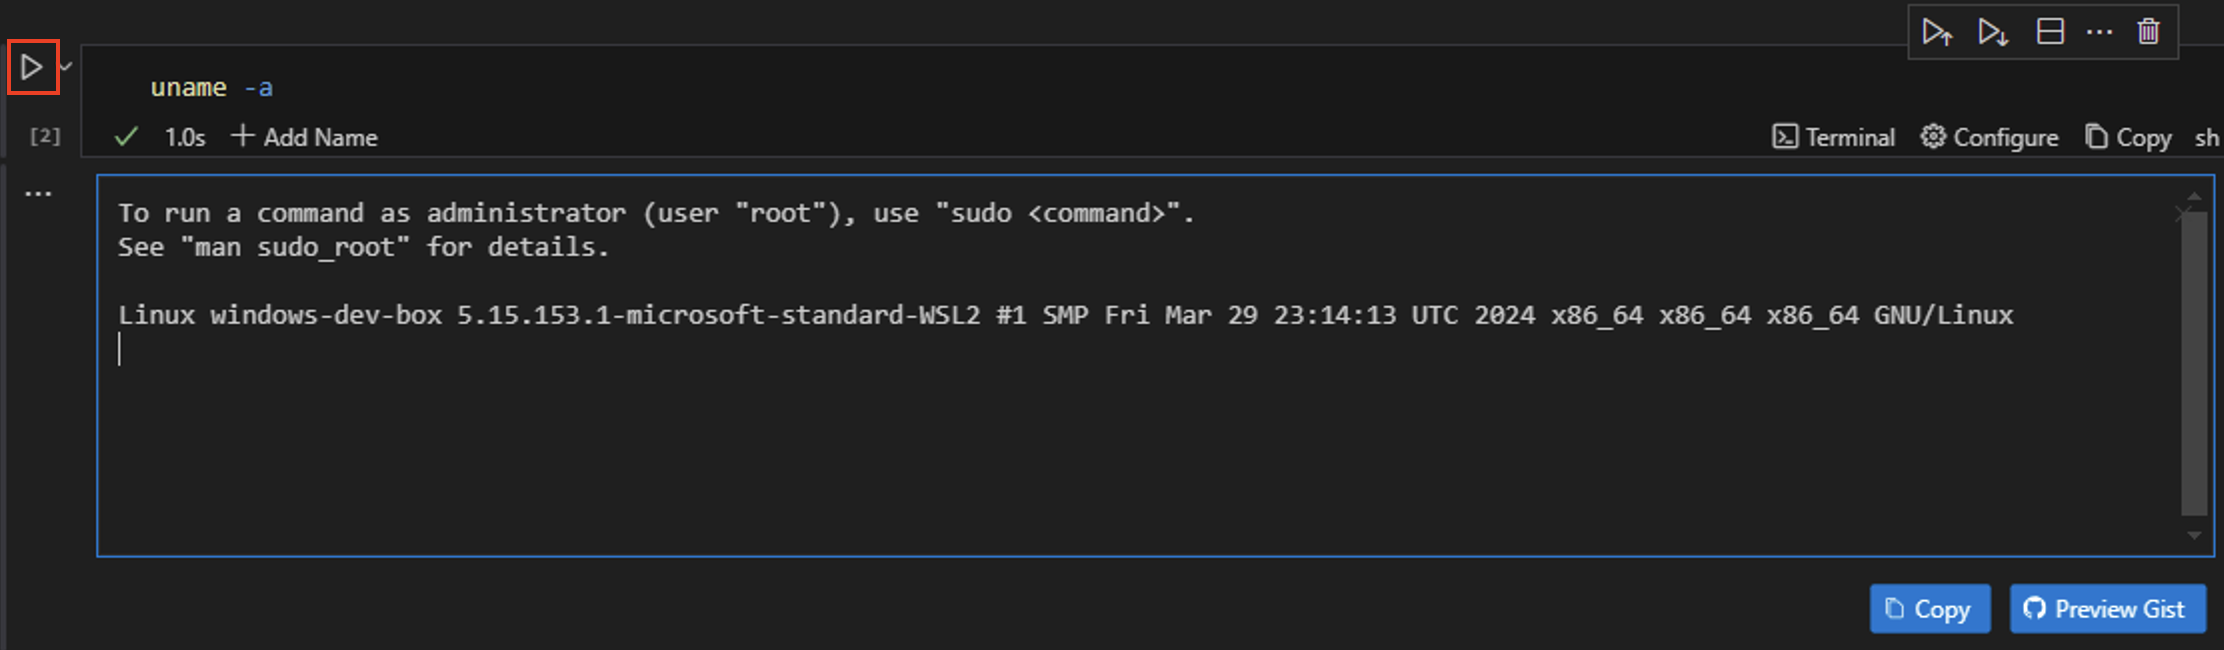
Bringing it all together, you should now be able to run a command and verify that it's executing within WSL.
- Create a Markdown file and click the “+Code” button to create a code cell for your scripts or command.

- Enter your command into the code cell and click Run.
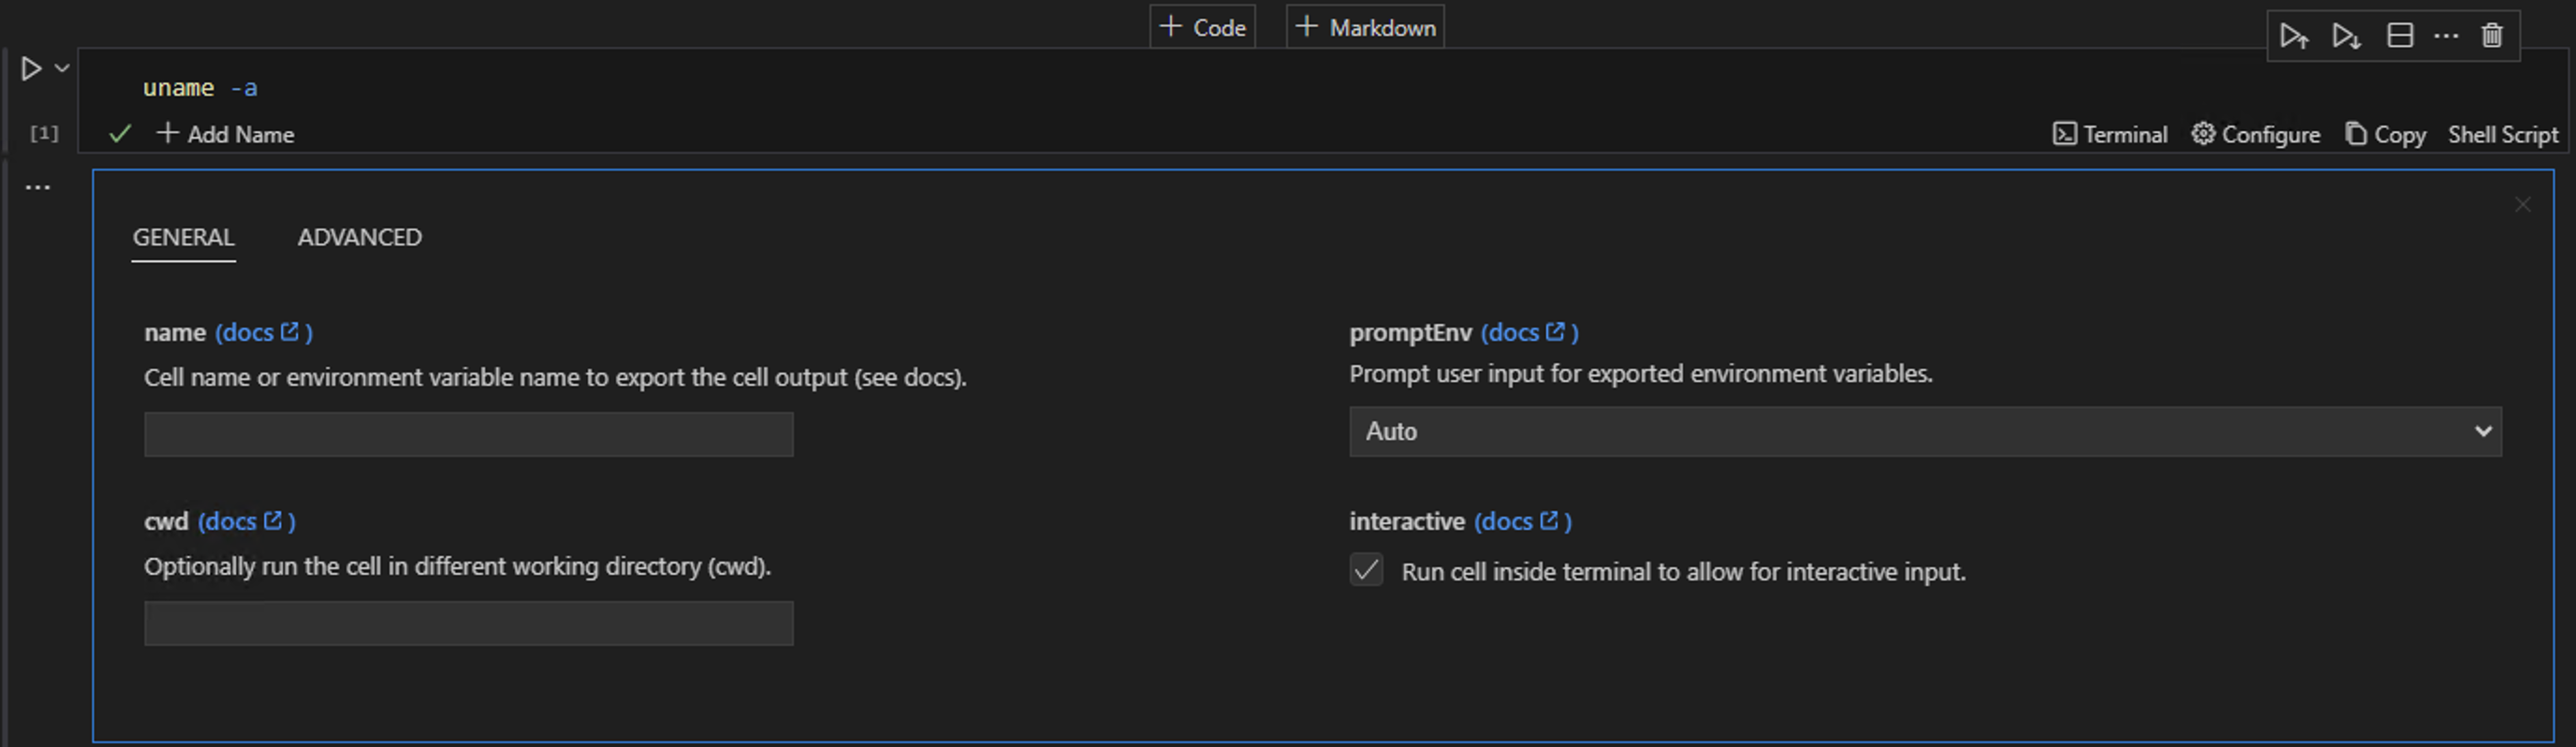
- If you want to configure your code cell before running, click the configure button.
Runme CLI with WSL
You can also access Runme from your CLI with WSL on your Windows machine by following these steps:
1. Connect to WSL
Open your terminal and run the command below:
wsl
This will connect your machine to your WSL server.
2. Install the Runme CLI
After successfully connecting to the WSL server, the next step is to install Runme CLI on your local machine.
To do this, run the command below:
brew install runme
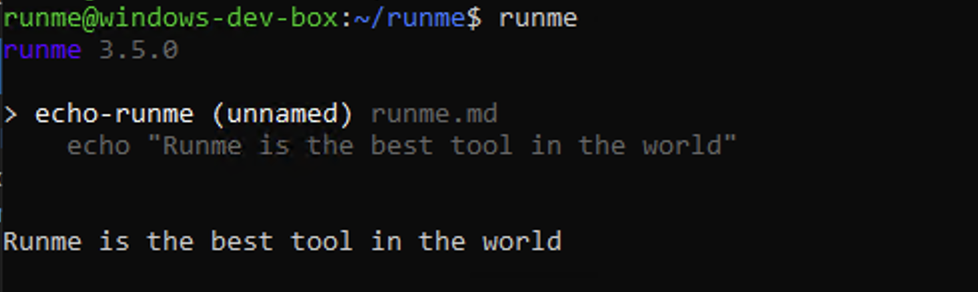
3. Run tasks
You can run any task of your choice within your CLI. To do this, use runme <command> to execute tasks defined in the Markdown .md files.
For more details on how to use the Runme CLI, refer to the Runme CLI reference.
Additional Resources
To learn more about how Runme works on several other client interfaces, see these resources: